
 |
| Red currant jam |
I’ve been making jam since I was a teen and while there are many ways to make jams and jellies, the technique I use has worked for me well over two decades and are based on traditional methods. I rarely have jam till overs, but one year I got a little over eager and made more than we needed, when I opened the last jars two years later, they were still just as good.
Don’t rush when making preserves but allow yourself plenty of time since you cannot stop once you start. I usually use about 2 hours max from start to finish depending on how many jars I have.
My first tip is to pick the berries on a sunny day when they are dry, not after rain. For jellies and jam you need ripe fruits, but don’t be afraid to add a few ‘unripe’ one, the unripe ones contain more pectin which is the thing that binds the jam together, using over-ripe fruits can make your jam runny as it might not set properly. You can buy pectin at most grocery shops, but I feel that it is cheating to use anything else than fruits, water and sugar.
Throughout the year I collect glass jars with good solid lids that have no dents or damages; I wash them by hand, never in the washing machine. Then, before using them I give them a quick rinse before sterilizing them in boiling water.
The secret to successful preserves is sterilization, if the jars are contaminated in any way the jam will spoil. I boil water in a pot and keep it boiling while I carefully place my pots and lids in it for at least a minute, then place them upside down to dry on clean dishtowels, or metal rack to dry.
As soon as the jam is ready, I pour it all the way to the top of the jars, place the lids on right away and screw them lightly, when the jars have cooled down a little so I can handle them without getting burned I screw the top down all the way. The cooling process will make the jam compact and create a vacuum. This is a little messy, but don’t try to wipe the jars yet. Let the jam cool undisturbed, and when completely cooled wipe the little drips with a wet cloth before storing in a cool, dry place.
By the time the jars are cold you should see the lids have caved in a little, this is a sign that the jam is hermetically sealed and airtight. If you find jars that are not airtight, store them in the fridge – they will keep in the fridge for a good while, but should be eaten first. You can also freeze jam, but that is again – cheating in my book. I like the idea of food items that does not require electricity for preserving it, and I take jam making very seriously – Ha !
Classic recipe:
- Rinse your berries several times in cold water.
- Place in a large pot and add a little water to cover the bottom of the pot. (About ½ a cm of water)
- While stirring regularly, bring to boil, turn down the heat and let them cook until the skin is wilted, and the berries are soft.
- Careful! Hot! Using another large pot, pour the berries through a sieve. Do this in several times, discarding the berries as you go.
- Weigh the juice you have collected and add the same weight in sugar. For example, if you have 1 liter of juice, use 1 kilo of sugar.
If you want to use a little less sugar, you can cut it by 20%, but I don’t recommend cutting the sugar too much if you plan on making hermetical conserved jam. If you are going to use pectin, freeze, or store the jam in the fridge, you can cut out more of the sugar, but the result might not be the same.
- Cook the sugar and juice together on medium heat, stirring frequently until the sugar is dissolved.
- When the mixture has reached a gentle boil, let it cook undisturbed for 5x minutes.
- Take it off the stove and skim off the scum. (Don’t throw it out, it doesn’t look too pretty, but taste very good)
- Now you are ready to fill your jars. Be careful, the jam is very hot! This is not a job for children.
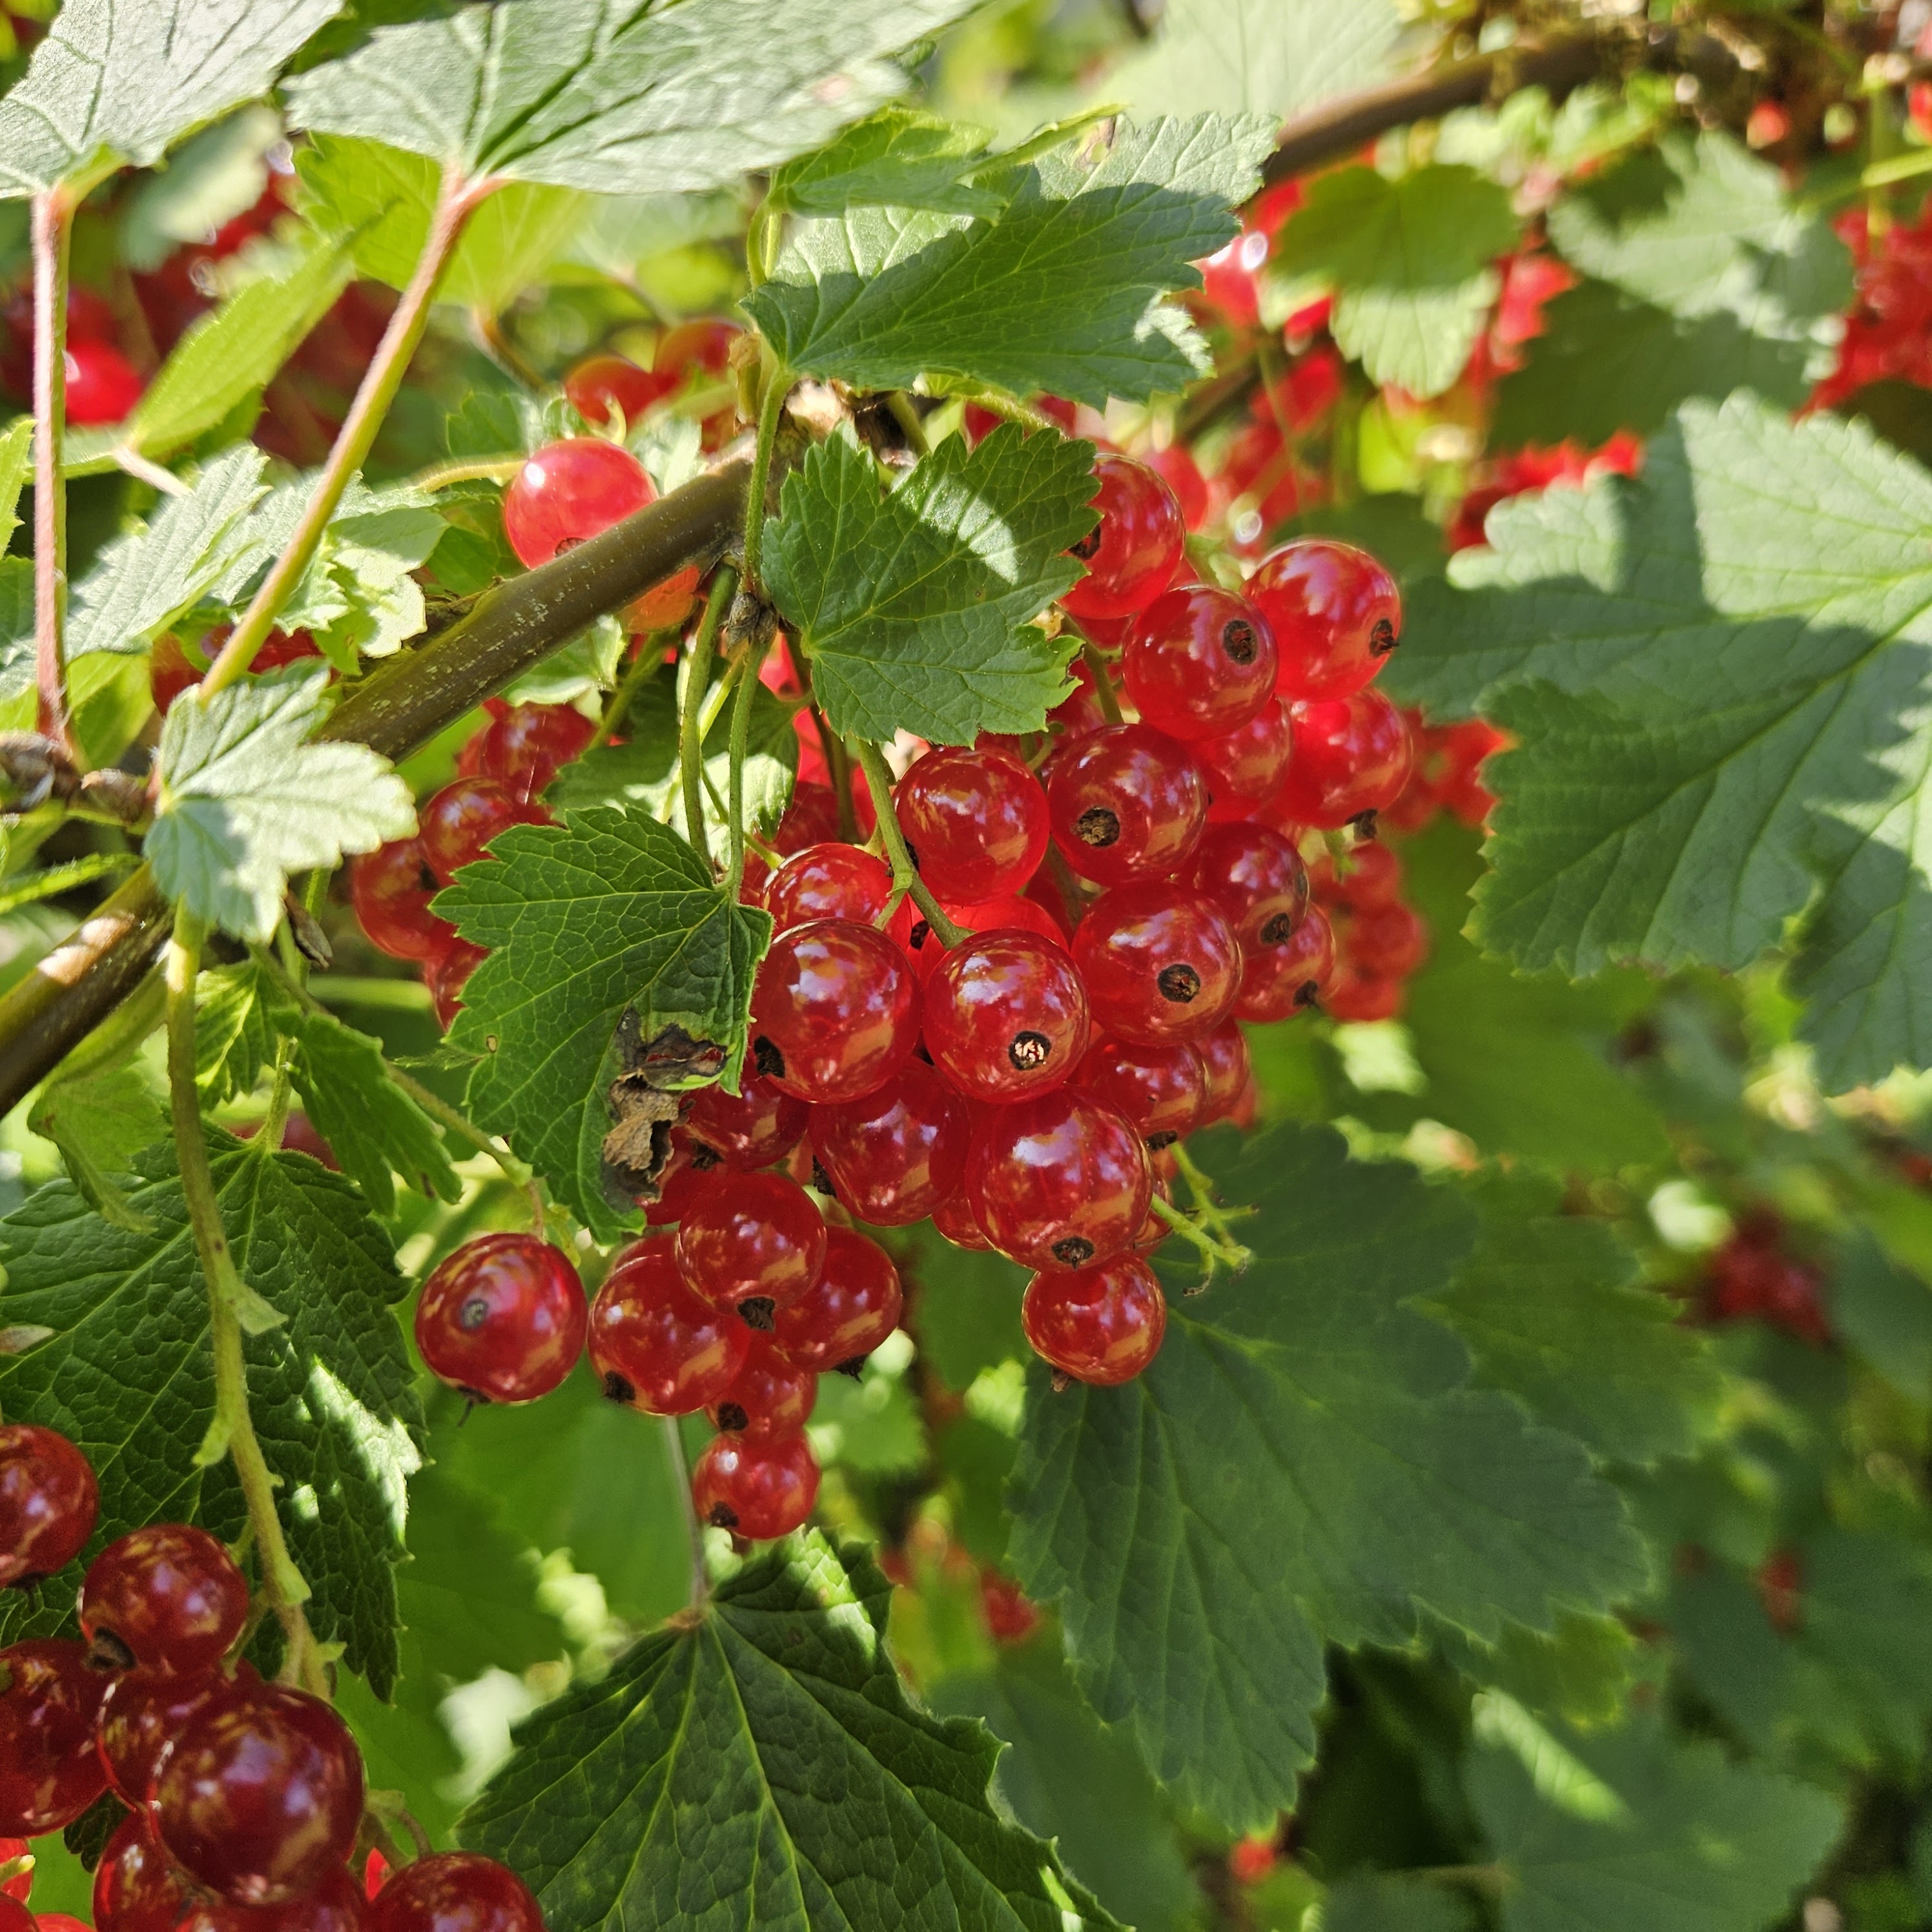 |
| Red currants |
 |
| Jars collected throughout the year |
.jpg) |
| Separating the juice from the cooked berries |
Recipe I use:
https://www.davidlebovitz.com/red-currant-jam-recipe/
Tip for removing labels from jars:
https://www.youtube.com/watch?v=YmcRCfOTpOw&t=19s
No comments:
Post a Comment